Sunday, June 19, 2011

Blueberry Boy Bait

One of my favorite food blogs is Smitten Kitchen. I found this yummy recipe a while back and it is perfect for all those blueberries around right now. Also perfect for boys as it's name declares. But grandparents, neighbors and small children seem to love it as well (that was my focus group). You decide. But with 2 sticks of butter how can you go wrong? 
Gather up the following: 
2 cups plus 1 teaspoon all-purpose flour
1 tablespoon baking powder
1 teaspoon table salt
16 tablespoons unsalted butter (2 sticks), softened
3/4 cup packed light brown sugar
1/2 cup granulated sugar
3 large eggs
1 cup milk
1 cup blueberries 
Topping
1/2 cup blueberries
1/4 cup granulated sugar
1/2 teaspoon ground cinnamon


Whisk together the flour, baking soda and salt in a bowl. Set aside.

Beat the butter and sugars with an electric mixer on medium high speed until fluffy- about two minutes. Add eggs one at a time while beating. 


While continuing to mix, add in half of the flour mixture, then half the milk, then the rest of the flour and then the rest of the milk. 
Toss in the blueberries with a rubber spatula. 

Pour the mixture into a 9 x12 greased baking dish. 

Time to top the cake. Spread more blueberries over the batter. 

Mix the sugar and cinnamon and then pour over the blueberries. 

Bake at 350 for 45- 50 minutes

YUM!! You can bait alot of boys with this!


Blueberry Boy Bait
Full Recipe
Courtesy of Smitten Kitchen
2 cups plus 1 teaspoon all-purpose flour
1 tablespoon baking powder
1 teaspoon table salt
16 tablespoons unsalted butter (2 sticks), softened
3/4 cup packed light brown sugar
1/2 cup granulated sugar
3 large eggs
1 cup whole milk (though buttermilk, which was all I had on hand, worked just great)
1/2 cup blueberries, fresh or frozen (if frozen, do not defrost first as it tends to muddle in the batter)

Topping
1/2 cup blueberries, fresh or frozen (do not defrost)
1/4 cup granulated sugar
1/2 teaspoon ground cinnamon
For the cake: Adjust oven rack to middle position and heat oven to 350 degrees. Grease and flour 13 by 9-inch baking pan.
Whisk two cups flour, baking powder, and salt together in medium bowl. With electric mixer, beat butter and sugars on medium-high speed until fluffy, about two minutes. Add eggs, one at a time, beating until just incorporated and scraping down bowl. Reduce speed to medium and beat in one-third of flour mixture until incorporated; beat in half of milk. Beat in half of remaining flour mixture, then remaining milk, and finally remaining flour mixture. Toss blueberries with remaining one teaspoon flour. Using rubber spatula, gently fold in blueberries. Spread batter into prepared pan.
For the topping:
Scatter blueberries over top of batter. Stir sugar and cinnamon together in small bowl and sprinkle over batter. Bake until toothpick inserted in center of cake comes out clean, 45 to 50 minutes. Cool in pan 20 minutes, then turn out and place on serving platter (topping side up). Serve warm or at room temperature. (Cake can be stored in airtight container at room temperature up to 3 days.)


Thursday, June 9, 2011

How to freeze blueberries

The Aldi's near us has blueberries for 99 cents this week. If you don't have an Aldi's I am so sorry! If you do and have never been because it looks a little shady (it is) and you have to "rent" your shopping cart for a quarter (you do), well get over yourself and get to Aldi's! They have great produce for a fantastic price! The blueberries, strawberries and pineapples are all 99 cents this week. And the blueberries at my store are local from right here in North Carolina! So I bought 18 pints. Yes, I said 18. My 4 yr old can eat a pint in one sitting so I decided to stock up. But of course, they will not stay fresh so I needed to freeze the berries. Seeing as how I have never been a canner/freezer type person (see below post), I thought I would just pour them in ziplocs and pop them in the freezer. Au contraire! Apparently if you do that they will all freeze as one big clump and we don't want that. So my friend Robyn told me to do it this way and I am sharing for all you other virgin blueberry freezers. I didn't want you to have clumps of frozen berries. You are welcome.

Wash your berries. Let them dry out for a few minutes- like 10.
 Pour the berries onto a jelly roll pan. Don't use a cookie sheet b/c you will have berries rolling all over your floor and your freezer. Spread them out in a single layer. Place the sheet in your freezer. Leave them there for 15 minutes.
When you take them out, the berries will be "individually" frozen so now they won't freeze together. Pour them into the ziploc bags and place them in the freezer.
Am I the only one who didn't know how to do this? If so, I feel silly. Hopefully one of y'all out there in blogland is saying "Ohhhh that is so helpful!" :)

Saturday, June 4, 2011

Homemade Strawberry Jam in 10 minutes

 This right here is heaven.
Have you ever had strawberry freezer jam? It was new to me a few years ago. I did not grow up canning veggies or picking fruit. Really, the closest I came to choosing my own produce as an adult was putting it in my cart at Publix. (Publix, PLEASE come to North Carolina! I miss you so much!) Anyway, when we moved to NC, our new friends told us we HAD to pick strawberries and since the farm was 2 miles from our house we set out to do just that. Jack was only 18 months but the three of us ended up with 14 pounds of strawberries in a short period of time. I had no idea what I would do with all those strawberries until my friend Barb nonchalantly said "you make jam, right?" Um, no. I do not make jam. Actually, I used to not make jam. But now I do. And it is so easy. Your friends won't believe you but that's okay. When you show up on their doorstep with homemade jam, let them think you slaved over a pot of boiling jars or whatever it takes to do it the hard way.
This, folks, is the cheater method.

Remember how I plan a monthly activity for the women at church? Well June was Jam Month. We all got together and made jam. And ate alot of jam. On homemade bread. It was delish! We met at my friend Emily's house. Can we stop for a minute and have a moment of silence for this island? I mean you could have a serious dance party on this island but that would be a different kind of activity :)  
Okay let's get started. Here is what you need:
Strawberries chopped like this:
Sugar
And this secret ingredient- Ball Instant Pectin
You must get this kind for this recipe to work. The others kinds use LOTS more sugar. I got mine at Kroger and I know Wal-Mart has it too.
Put your chopped strawberries in a blender. Blend to your liking. I like my jam a little chunky so I don't blend them all the way. Barb likes her's smooth and she was pushing the buttons in this pic so no chunks. You could also do this in a food processor.
 Now if you like your jam with chunks, pour the strawberries in a bowl and then add the pectin and sugar. If you want smooth jam (sounds like a lite rock radio station), then you can add the pectin and sugar in the blender.
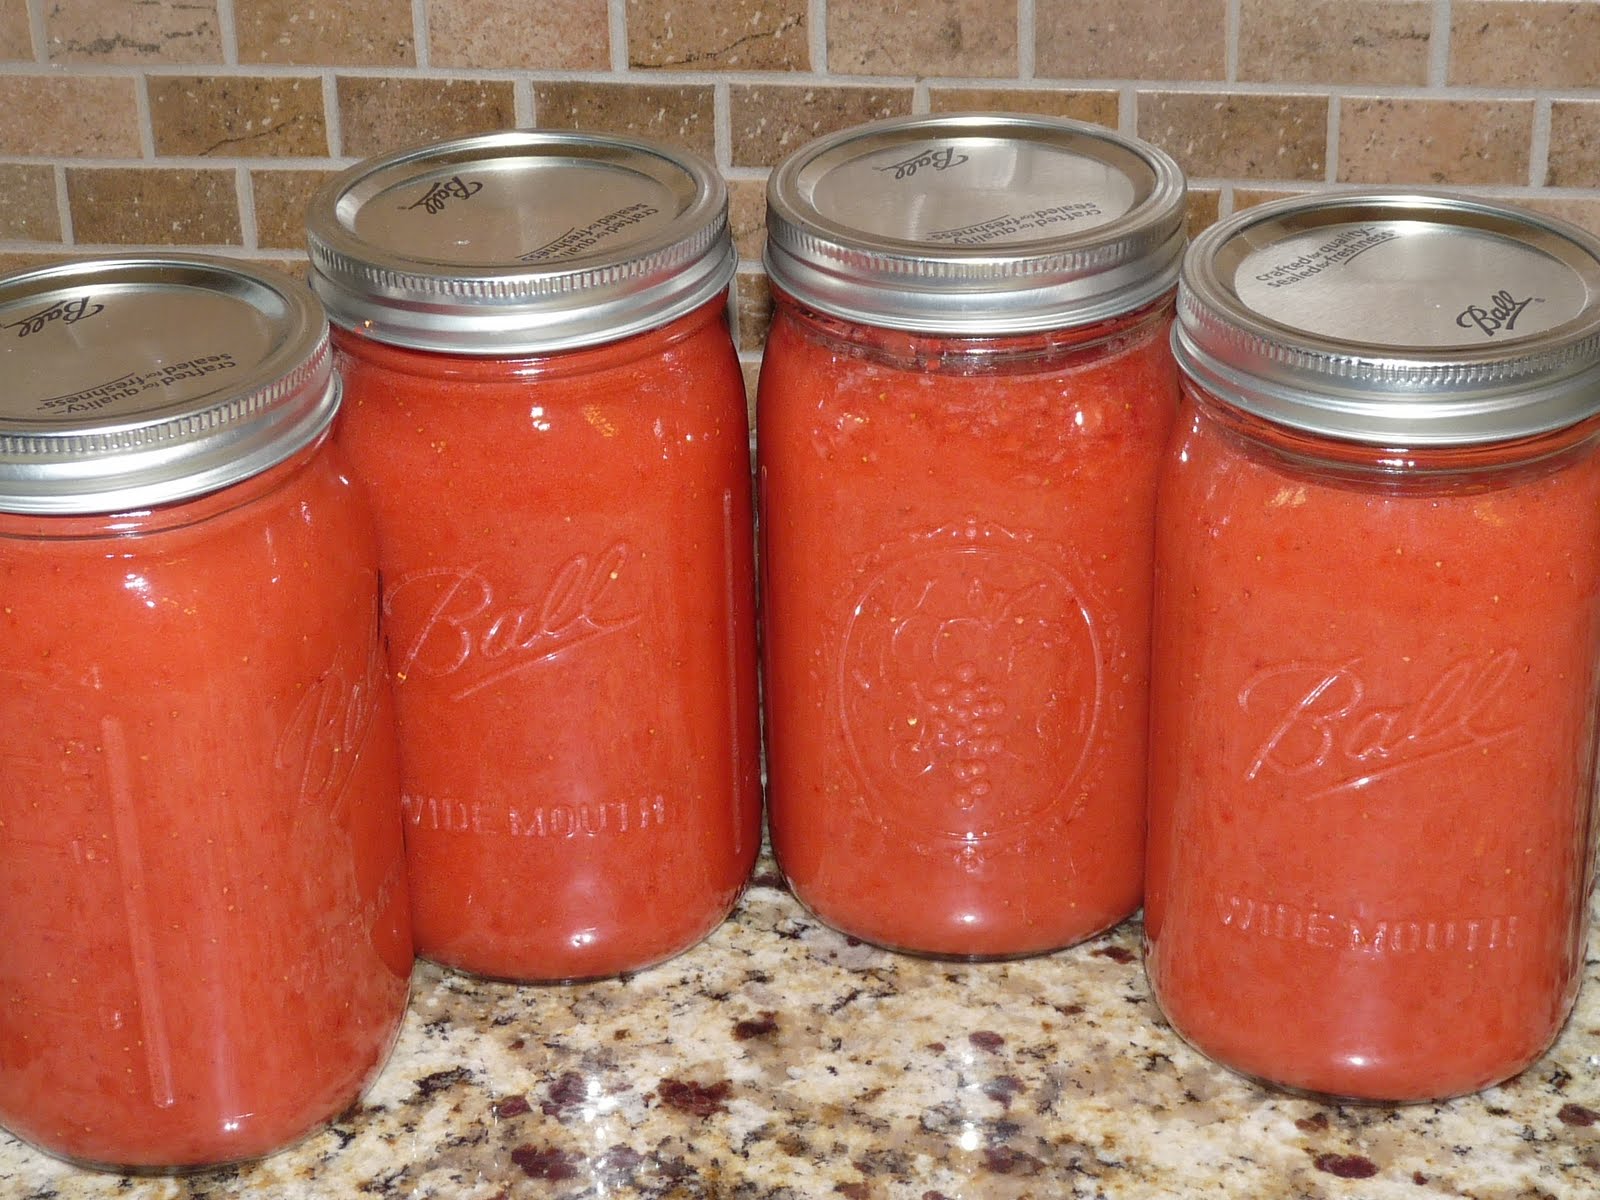
 Stir or blend the ingredients and pour into containers like these. Set it on your counter for 30 minutes and it is finished! Seriously that is all you do! The jam will stay fresh in the fridge for 3 weeks and in your freezer for 1 year.
You better make a lot because it goes fast! We put it on pancakes and french toast, use it for fillings in cakes, pour it over ice cream and of course for pb&j's.

Here is the recipe for 2 half pints:
1 2/3 cups of strawberries (about 2 lbs)
2/3 c Sugar
2 Tbsp Pectin

The jar of Ball pectin makes 15 half pints of jam.

Happy Jammin!


Jennie from the Blocks


Before I had baby #3 in November, I had a little side business where I made custom wooden blocks. I loved making the blocks and using my creative side but they were very time consuming. I still wanted to have a hobby/outlet/income for all the cute girl clothes at Target so I have started making these family name boards. Clay and I received one when we got married and I have always loved it! It hangs about the pantry door in our kitchen. It also helps us remember how long we have been married :) These boards make great gifts especially for weddings, anniversaries or just because. I gave them as teacher gifts- I know they thought I was crazy when I asked what year they were married!
The boards measure 24" long and 7" tall. The standard board is black with beige vinyl lettering. The edges are routed and sanded so it has a nice finished look. The price is $30. If you would like another color board or vinyl, the price is $35. I can ship them anywhere! You can check out more pictures here. Email me at jenniefromtheblocks@gmail.com if you are interested or have any questions!

Saturday, May 14, 2011

Sunshine and Mason Jar pies

 
I have been given the great opportunity to organize monthly activities for the ladies at church. We have a different theme every month and May was "Sunshine in Your Soul." We decided to do a dinner outside in a lovely backyard (not mine) where people could sit, relax and get to know one another. I love these nights because I can actually have a full conversation without anyone interrupting, pulling on my leg or yelling "I have to go pee!" Anyway, I digress. So it was a cool, spring evening with yummy food and great conversation and I thought I would share some of the highlights!

I am so in love with these striped paper straws. I got mine here. So stinking cute! And the paper doesn't come apart when you drink out of them! We had lemonade in mason jars but I apparently was too busy conversating to take a picture of those.
 I created conversation cards - taken from the great game Table Topics- for the ladies to ask each other. Some of the questions included "what historical time period would you like to visit?" "what was your favorite childhood meal" and my personal favorite "what was the most ridiculous but very cool fashion trend you followed?"

The favors were yellow tulip cakes (thanks Little Debbie!) tied with tags that said "spread sunshine."
 The highlight of the night for me was sharing these adorable pies in mason jars. Every woman had one at her place setting - either apple pie or mixed berry. I saw the idea here on Paiges of Style and knew I had to do it! Paige shared a mixed berry recipe so I will share how I made the apple pies.
Makes 8 pies
8 Granny Smith apples, peeled and sliced (about 1 1/2 pounds)
2 Tbsp. lemon juice
1/2 c. sugar
1/2 c. brown sugar
2 Tbsp. all-purpose flour
1/2 tsp. ground cinnamon
1/4 tsp. ground nutmeg
2 Tbsp. butter, chopped
2 pie crusts (store bought or your own)
Half pint wide mouth jars found here

Peel and chop your apples very small. They will not cook well if they are too large. Put them in a bowl and pour the lemon juice on them.
 Mix the sugars, nutmeg, cinnamon and flour in a separate bowl.
 Pour the dry ingredient mixture on the apples and mix well.
 Fill the mason jars with the apples. Go all the way to the top - the apples will settle as they cook. Place a couple of tabs of butter on top of the apples.
 Roll out your pie crusts and use the rim of lid cut out the crusts. Place each crust on top of the apples and push into the sides with a fork. Pierce the top of the crusts with a knife to allow for ventilation. Sprinkle some sugar on top if you like!
 Place the jars on a baking sheet and bake at 350 for 45 minutes, rotating once. LOVE how wonderful your house smells and just try to keep your husband from stealing one :)
Apple
 Mixed berry
Let the pies cool completely. Then you can make them even cuter with fabric squares under the rims or you could tie ribbon and attach a tag. These were a big hit with the ladies and would make great gifts for teachers, new neighbors or around the holidays. Don't forget the ice cream!

Monday, May 9, 2011

Chicken Spinach Lasagna

Do you need a new recipe to add to your weekday repetoire? Do you have a gazillion friends having babies and want to bring them a good meal? My college friend Amy, shared this great recipe for Chicken Spinach Lasagna. Some of the ingredients don't seem like they should go together i.e the soy sauce and nutmeg but it is DELISH! I promise your family or whoever you make it for will ask for more!
Chicken spinach lasagna
8-10 lasagna noodles (DO NOT use the no bake)
10 oz. frozen chopped spinach, thawed, and drained completely (I usually wrap it up in a dish towel and ring it out)
2 cups chopped cooked chicken
2 cups shredded cheddar cheese
1/3 cup finely chopped onion
1/4 tsp. nutmeg
1 Tblsp. soy sauce
1 can cream of mushroom soup
8 oz. sour cream
4 1/2 ounce jar sliced mushrooms, drained
1/3 cup mayonnaise
4 oz. grated Parmesan cheese
Cook lasagna noodles.  Combine spinach, chicken and all other ingredients except Parmesan cheese.  Grease 9X12 casserole.  Layer noodles and chicken mixture, making 3 layers.  Sprinkle with Parmesan cheese. Bake covered in 350 degree oven for 50 minutes, uncovered 10 minutes.
Start by boiling your noodles. Yes, you have to boil the noodles. You cannot use the no-bake noodles because the lasagna does not have enough "juice" to cook the noodles.
Then on to wringing out the spinach. I really don't like this part. I defrost it in the microwave and then wrap it in a towel and wring it out. If you have a better way, please let me know.
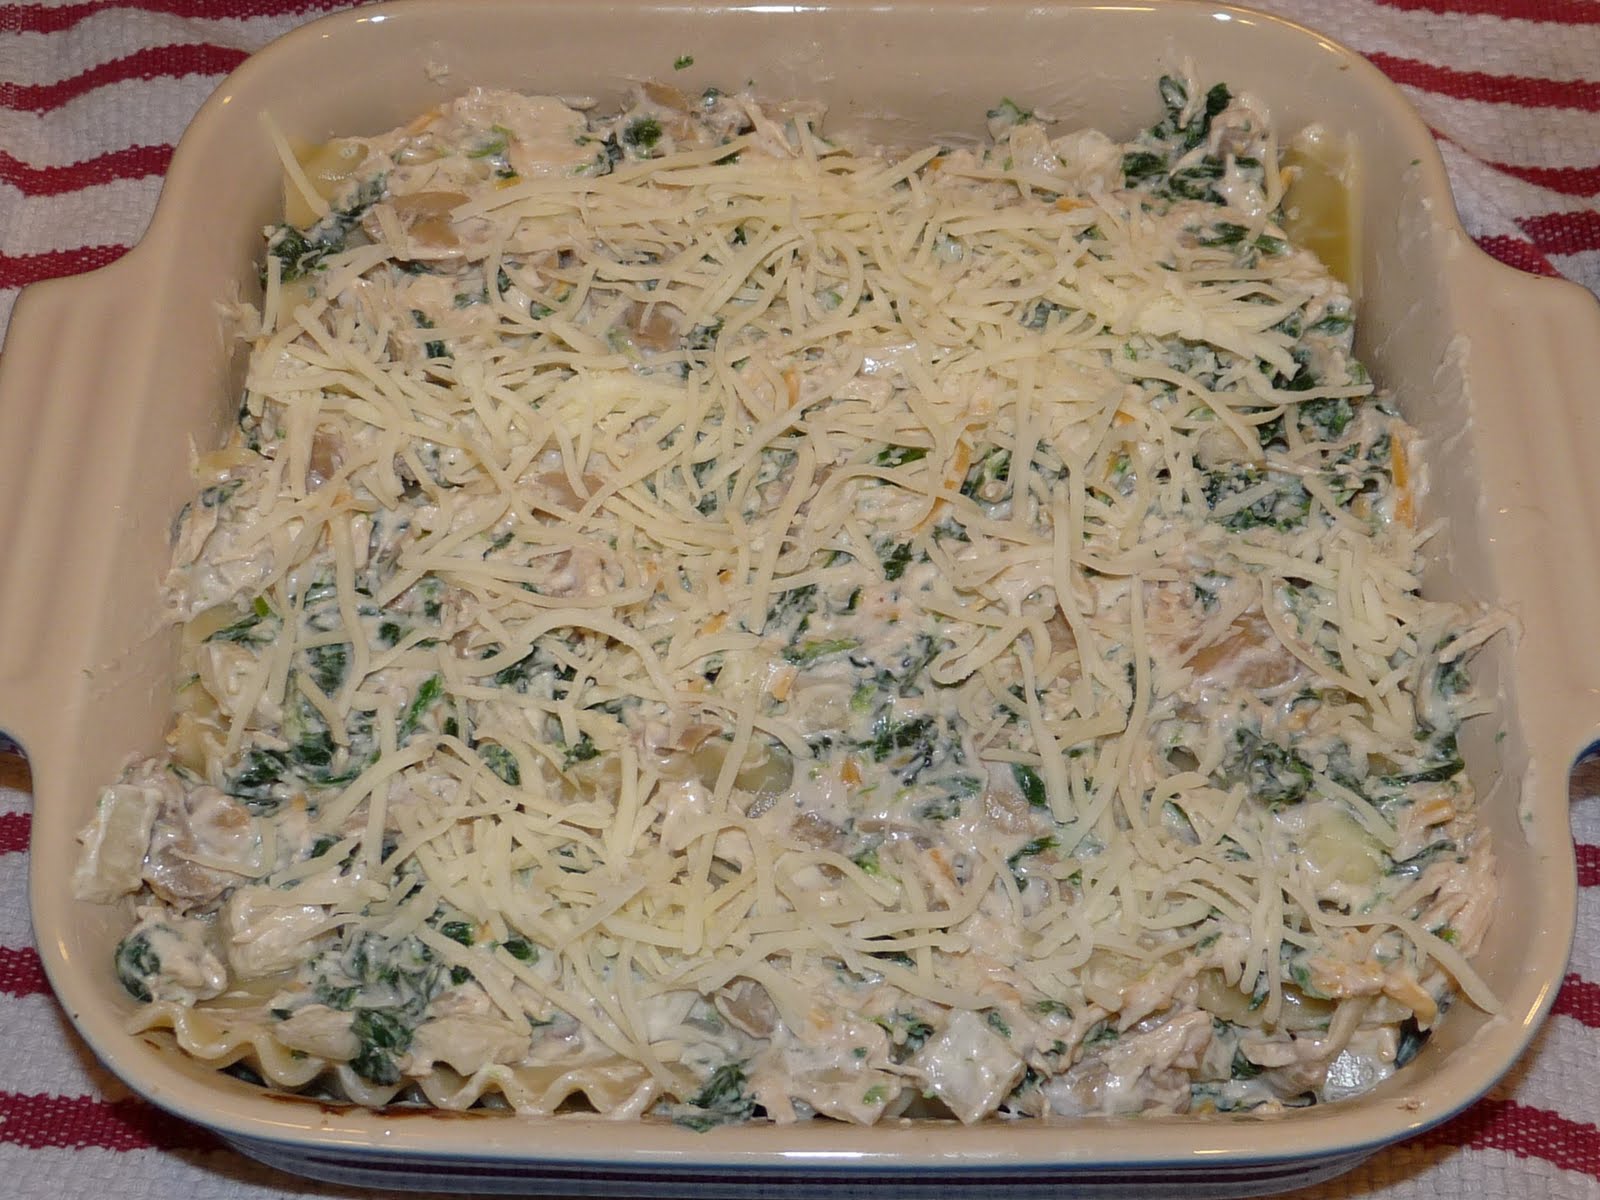
 Combine the spinach, chicken, cheese, onion, nutmeg, soy sauce, mayo, mushroom soup, sour cream and mushrooms together. It will look delectable, like this:
 Spread a layer of the chicken spinach mixture in the baking dish.
 Layer the cooked noodles on top. Repeat these steps until you run out.
 Finish with the chicken mixture on top. Sprinkle on the parmesan. I didn't have any parmesan so I used mozzerella- just as yummy! Bake it covered at 350 for 50 minutes and then uncovered for another 10 minutes.
 I made two- one for us and one for a new mom. My advice is to always bring food in a disposable container because although the new mom is so thankful for the meal, it is a big ole pain in the butt to track you down to return your pyrex!
Enjoy!

Wednesday, April 27, 2011

Two great sites you MUST know about!

Have you heard about these two great sites? Do you like a deal? Check them out!

Very Jane promotes handmade and boutique items at discounted prices. And this week they are offering all of their deals for FREE! Sign up for their email list and you'll get the deal of the day sent right to you. Very cute stuff at very affordable prices!

And the other one I am loving is Pick Your Plum. They offer the most "swank" crafting supplies that they find and slap primo (aka ridiculously low) pricing on them. There are limited supplies so you have to get there fast. They post every day at 8am EST. Sign up for their email alerts and you'll be the first to know!

Happy Shopping!